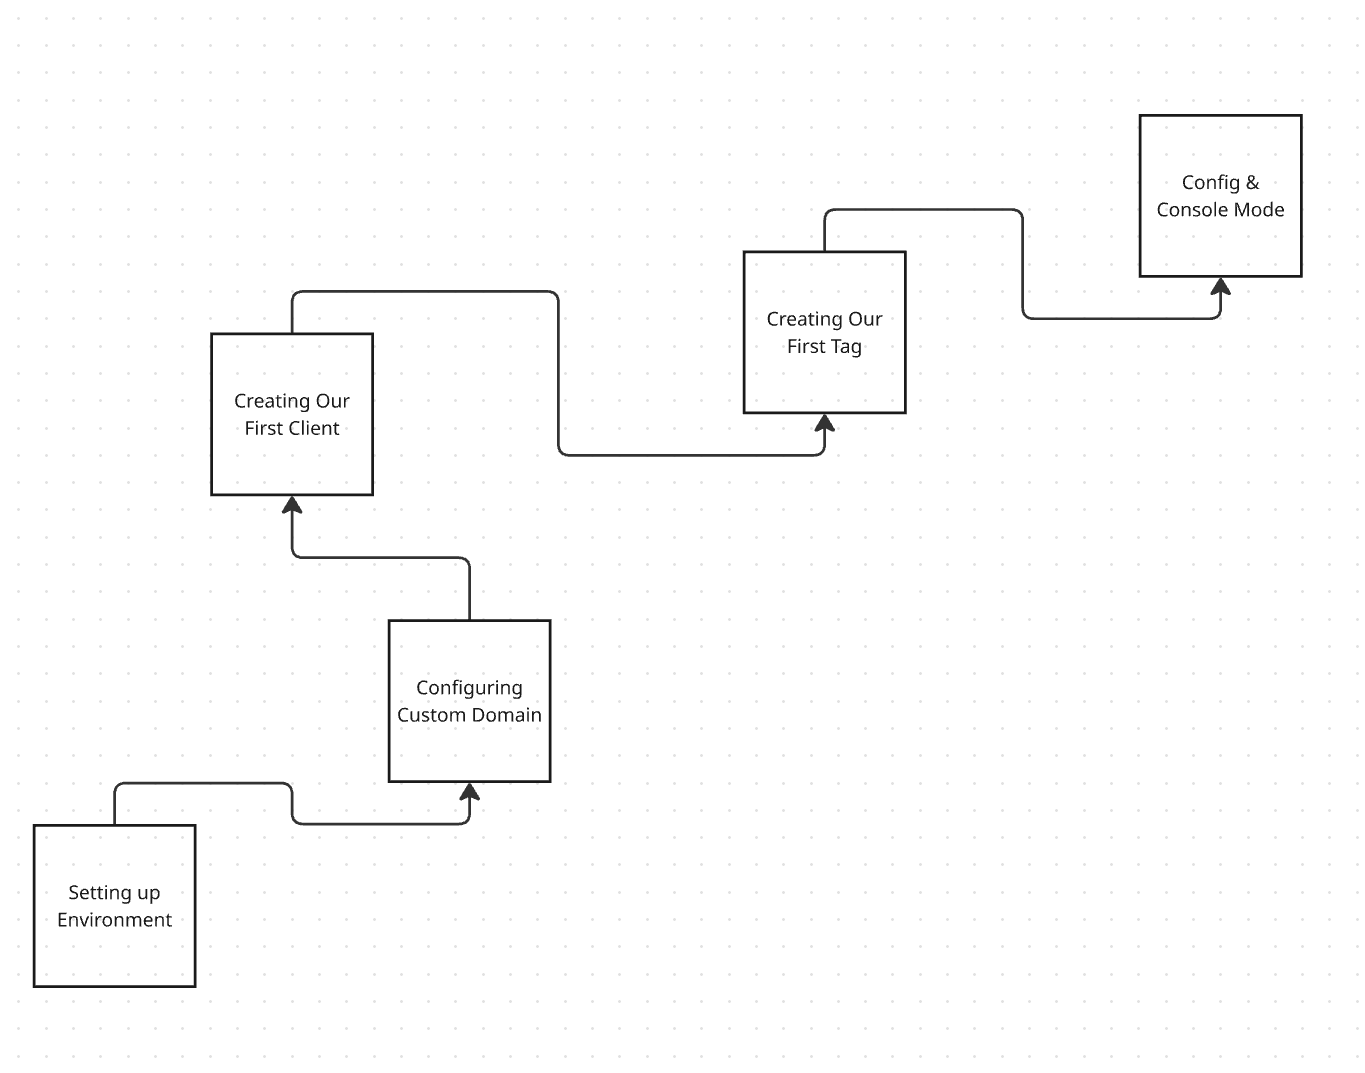
Have you been searching for a correct setup for Server Side Google Tag Manager Server-Side Tagging for your Site or App?
You're going to go through a rough time and will require some assistance. I will continuously update this guide to ensure you understand it correctly. If you still need more help, I do Google Tag Manager consultations on the following too. Please feel free to schedule some time with me to get started.
Server-side tagging is an advanced feature in Google Tag Manager (GTM) that enables you to process data through your own server before it reaches your analytics or advertising platforms. This method provides better control over your data, enhanced privacy, and improved performance. Here’s a step-by-step guide to set up server-side tagging in GTM.
Step-by-Step Guide to Set Up Server-Side Tagging
Step 1: Preparation
Before starting the setup process, ensure you have the following:
- A Google Tag Manager Account: Sign up or log in to Google Tag Manager.
- A Google Analytics Account: Sign up or log in to your Google Analytics account
- Cloud Hosting Access: Google Cloud Platform (GCP) is commonly used, but alternatives like AWS or Azure can also work.
- A Custom Domain (Optional): While not mandatory, a dedicated domain for tagging (e.g., tags.example.com) enhances your server’s credibility and facilitates configuration.
Step 2: Create a Server Container in GTM (Expanded)
Let's create a server on the next screen. Creating a server container is the first critical step to implementing server-side tagging. This involves setting up a new container specifically designed for server-side processing, which will handle incoming data and forward it to the appropriate platforms like Google Analytics, Facebook Ads, or others. Below is a detailed breakdown of this process.
Step 1: Head Over to Google Tag Manager
First things first, open your browser and go to tagmanager.google.com. This is your hub for all things GTM.

Step 2: Create a GTM Account (If You Haven’t Already)
If you don’t already have a GTM account set up, you’ll need to create one. It’s a straightforward process—just follow the prompts to get started.
Step 3: Create a New Container
Once you're in, it's time to set up your first container:
- Choose any name you like for your container.
- Select “Server” as the target platform (note: it may still be labeled as beta).
- Click Create.
Step 4: Review and Accept Agreements
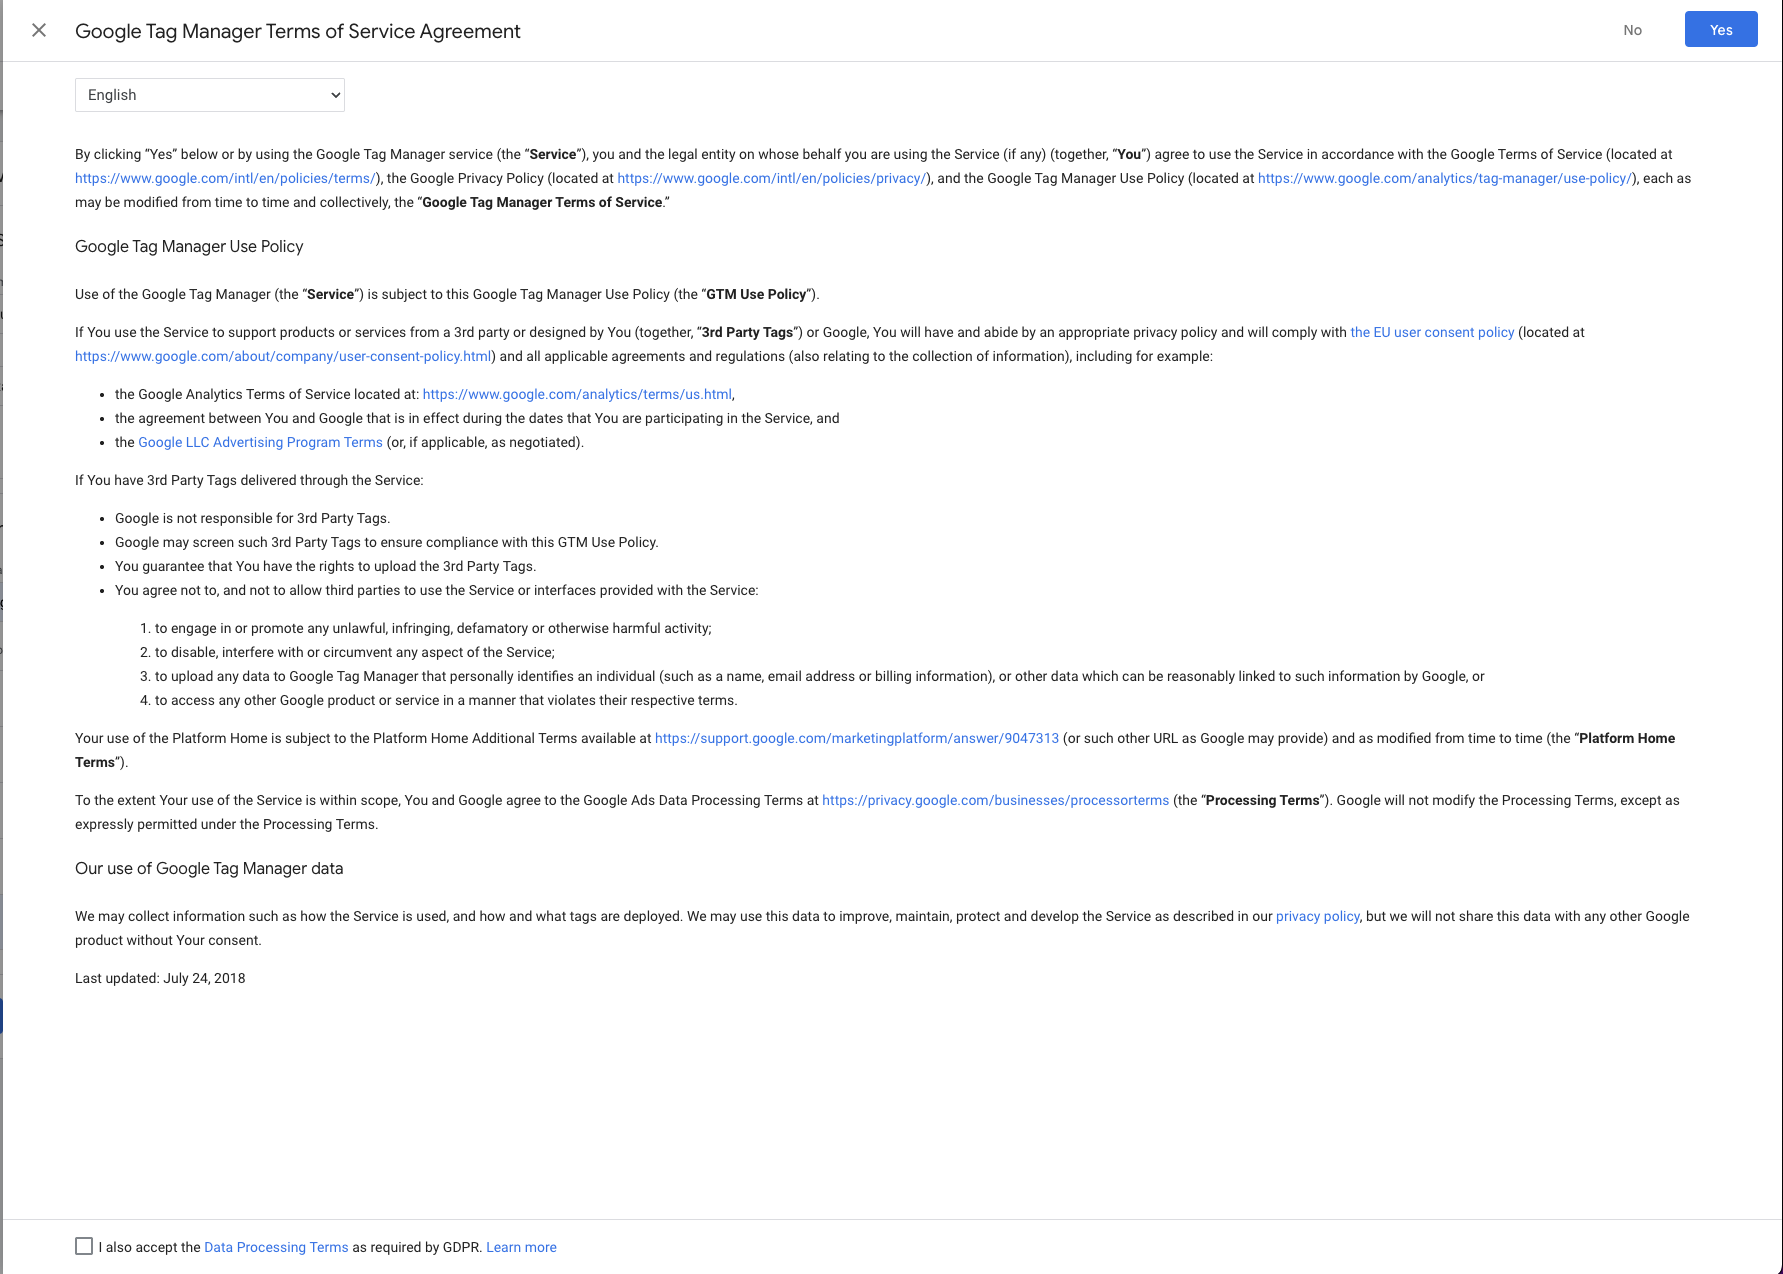
Depending on your location (especially in the EU), you may be prompted to accept the Terms of Service and Data Processing Agreements. It’s always good practice to review these carefully.
Keep checking back, as i’ll be constantly updating the article.
Final Results


